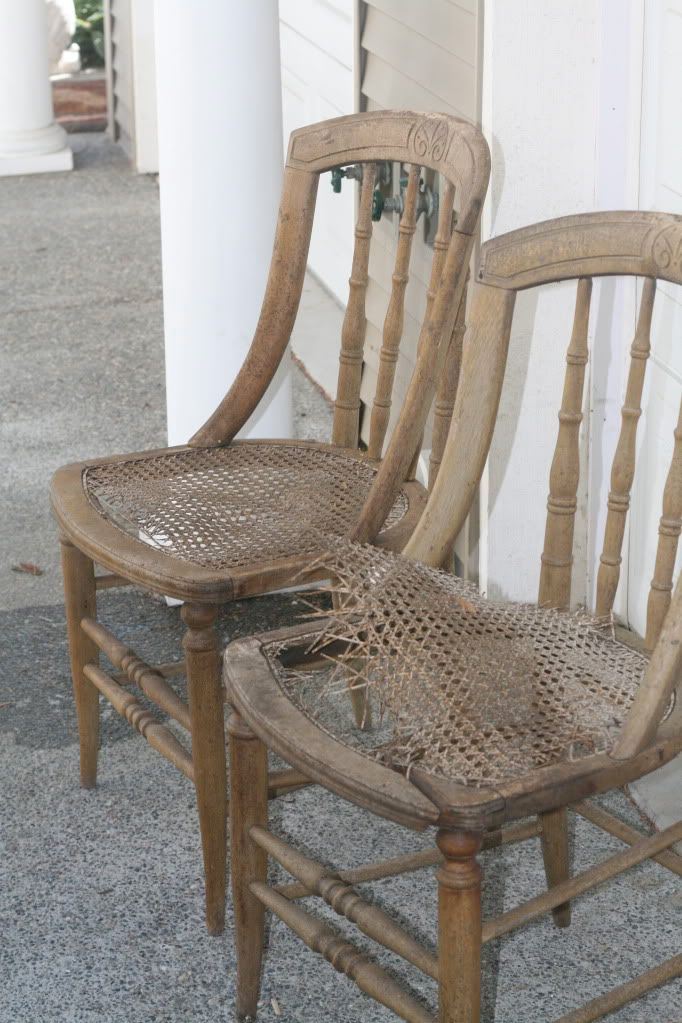
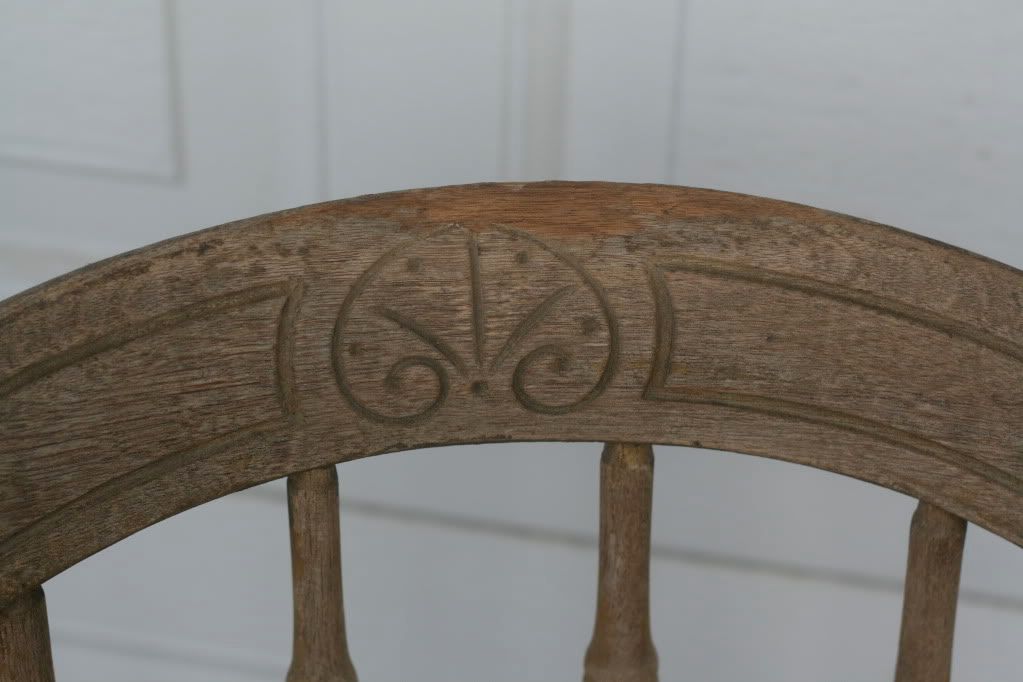
Yes, they were in bad shape, but I do love a challenge and look at this charming detail!
So, I tore the old wicker off of them, sanded them, and primed them.
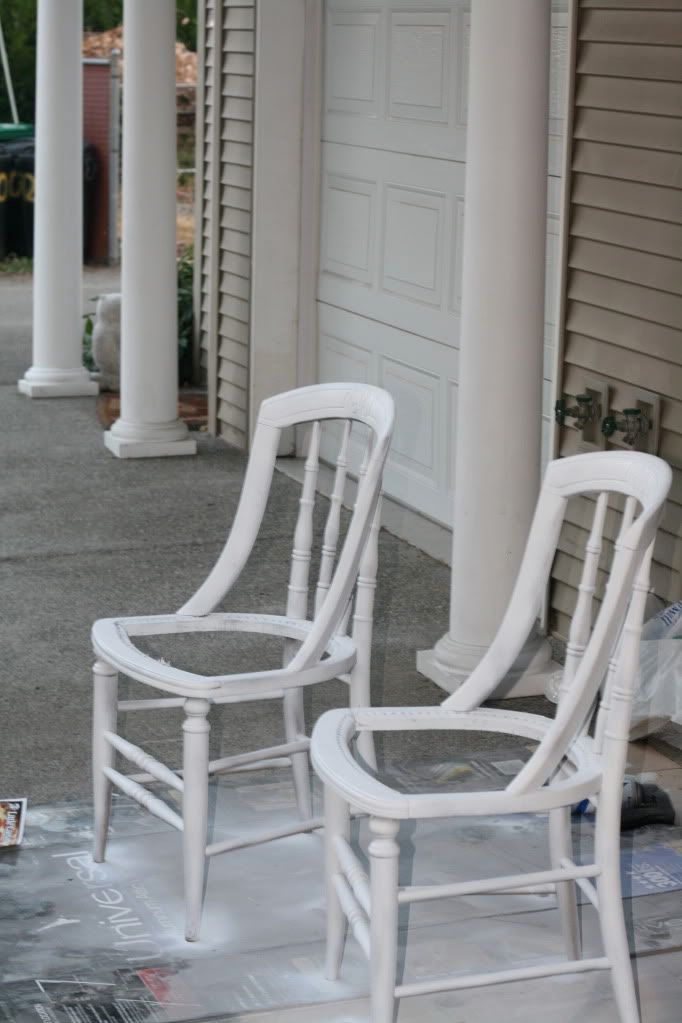
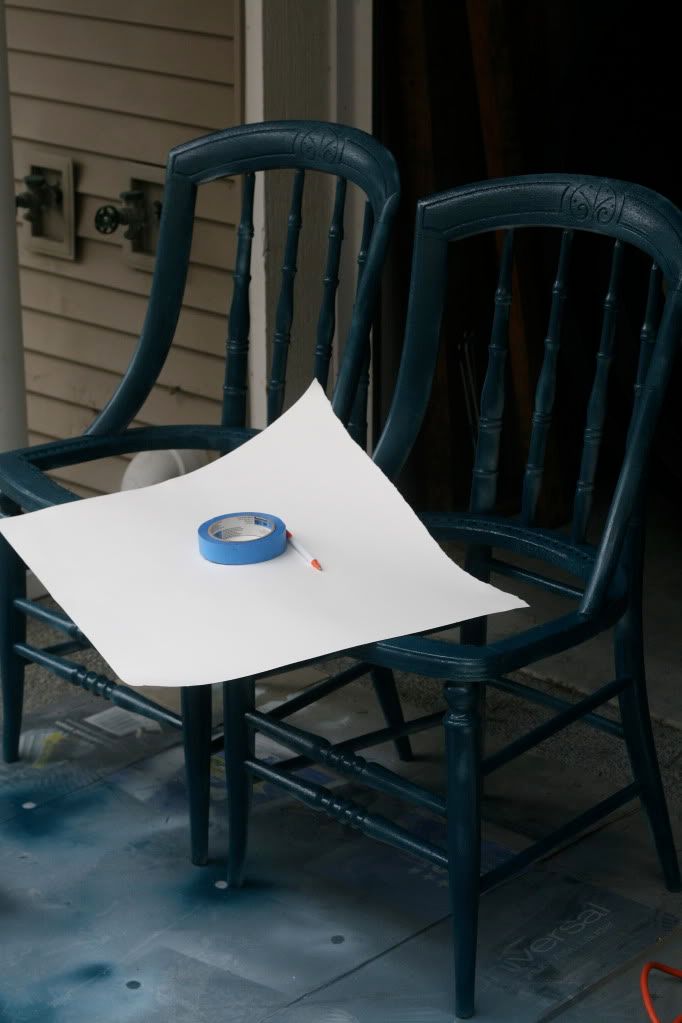
They drank up the paint like nothing else I have ever painted. I put three coat of primer on them. Then three more coats of a deep, cool teal, and we are ready for new seats.
I considered a few options, but eventually decided that a regular cushion would be the easiest route.
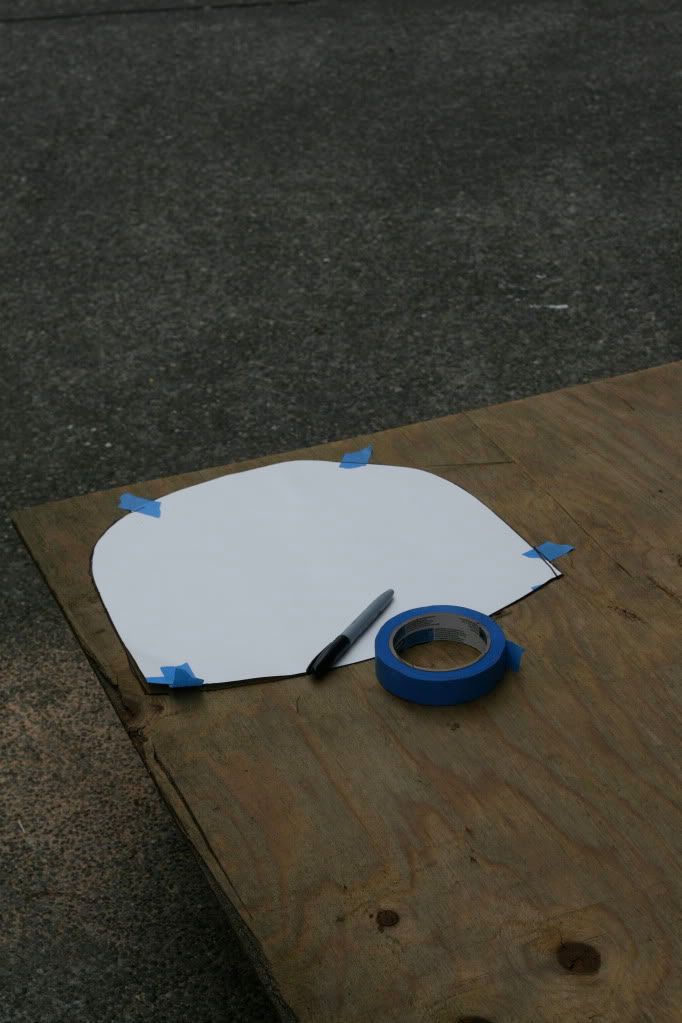
I taped a piece of poster board to the bottom of the chair and made myself a pattern in the shape of the hole in the chair. Letting your preschooler color on your plywood while you are getting out your jig saw is optional, but encouraged.
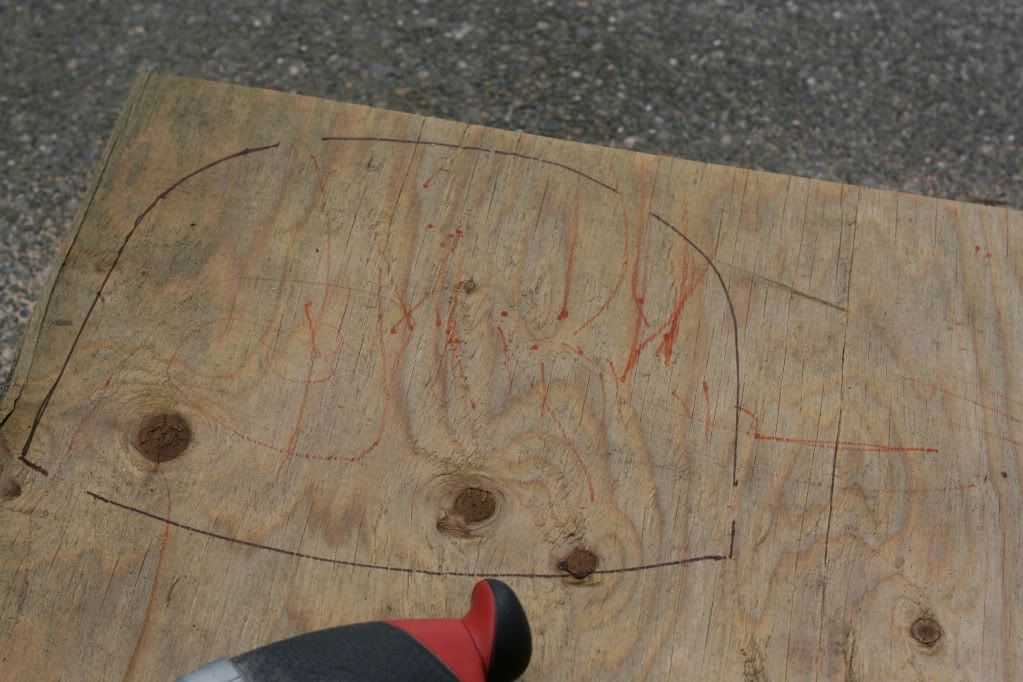

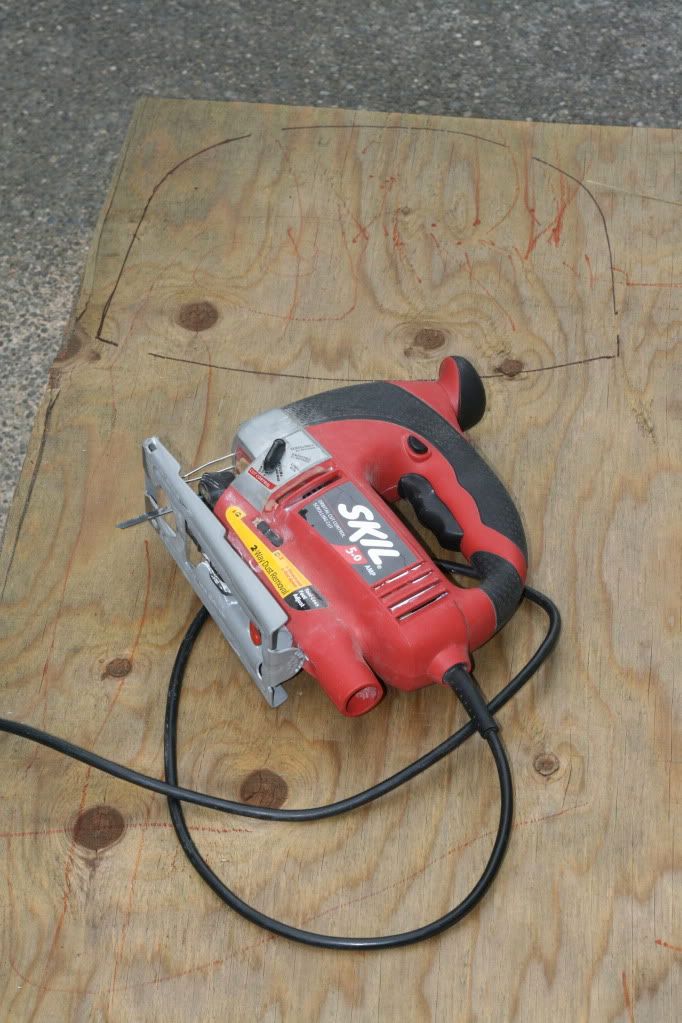
Then I banished said preschooler to "way over there!" and cut out the seat, about a 1/2 inch out from my pattern line. Little Sir was appropriately impressed that his Mama knows how to use a jig saw.
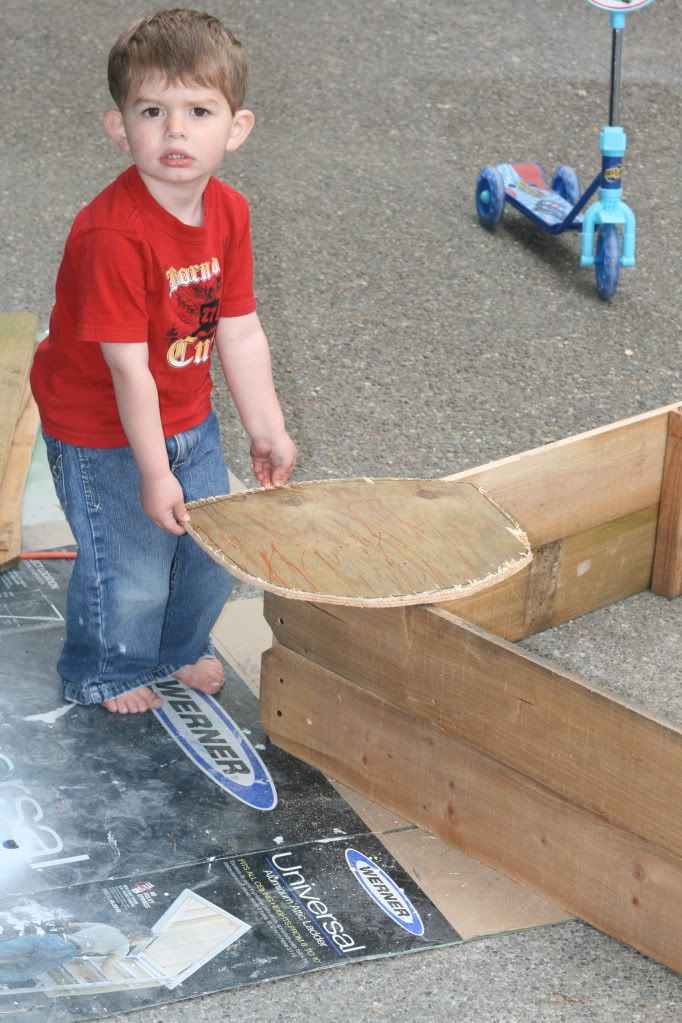
Next, using the same pattern, Sunbrella fabric (these chairs will be living outside) is cut out leaving a 1.5 inch allowance. I also cut some ripstop the same way to protect the batting a little better from the elements.
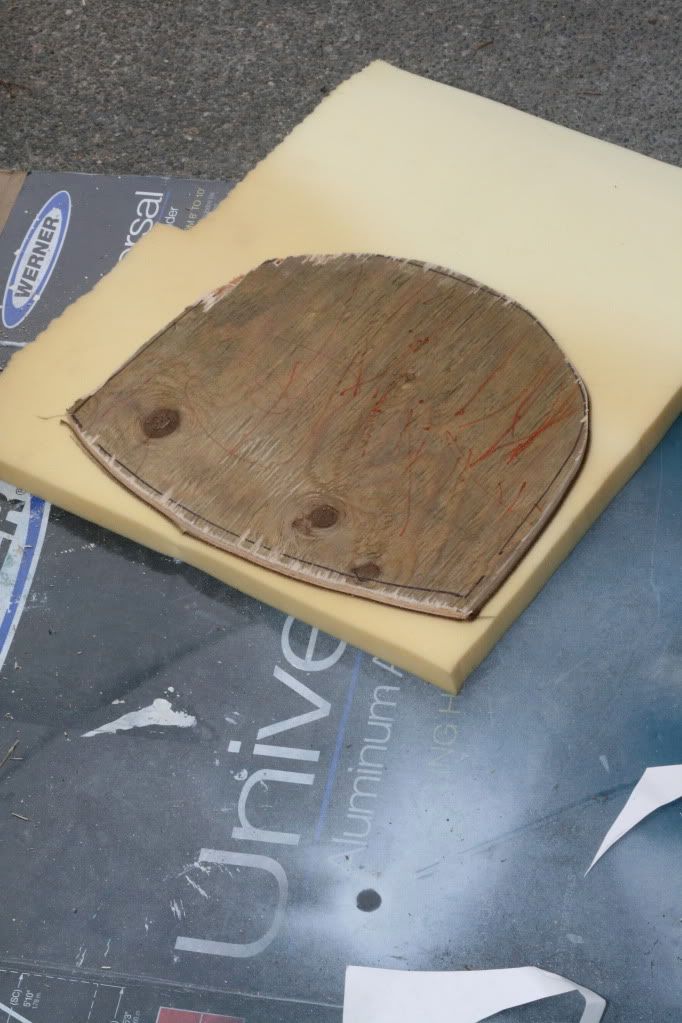
Don't use the paper pattern when cutting out your foam, use the actual piece of wood you will be using for the cushion w/ no extra allowance.
I was a little worried about using batting over the foam on a chair that was going to go outside, so I actually stapled the fabric down directly over the foam. It looked horrible and after pulling out some 8 billion staples I decided to add the rip stop to protect the batting and also try to remember to bring the cushions in when winter arrives.
Layer the foam, batting and fabric on top of your wood, then staple down the fabric, pulling it tight as you go, starting in the middle of each side and working toward each corner.
A little more paint, a little glaze, some "re-stressing" and one episode of Dr. Who later. . .
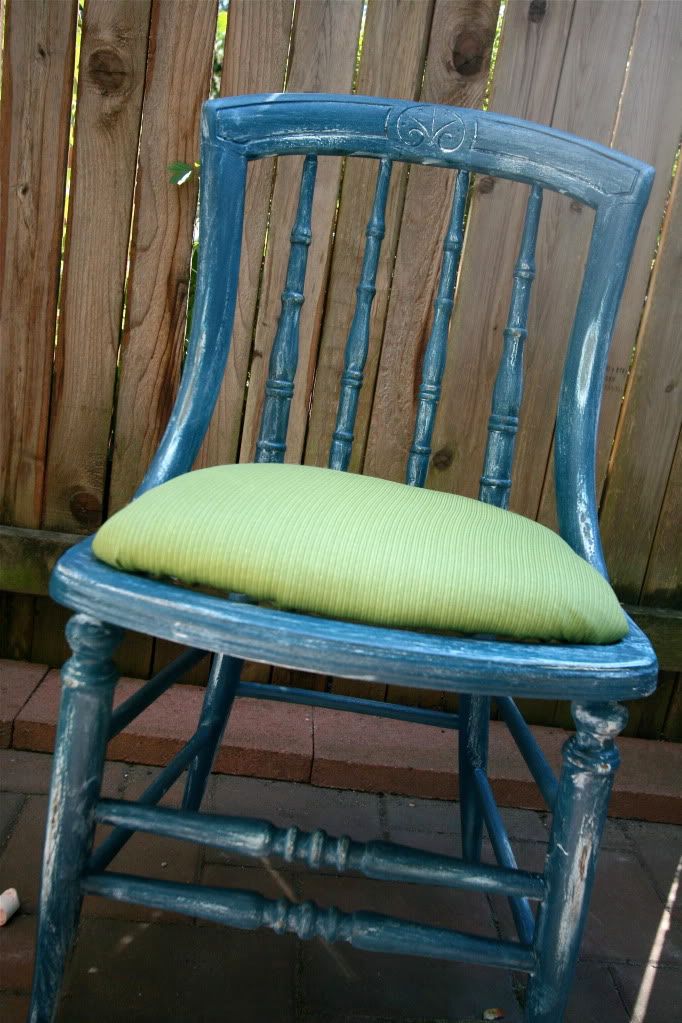
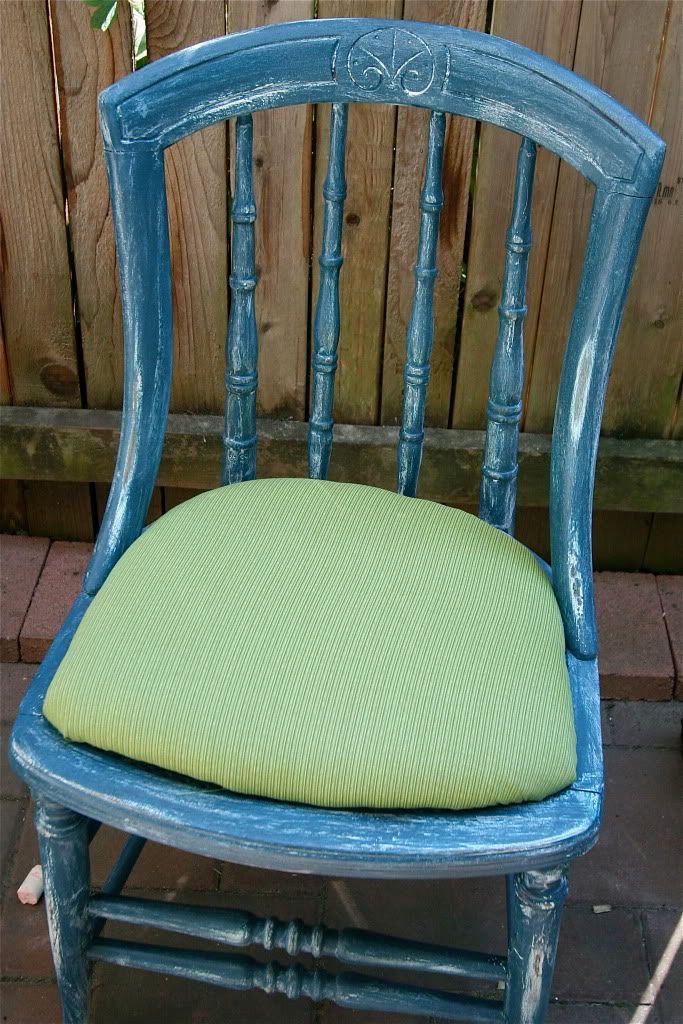
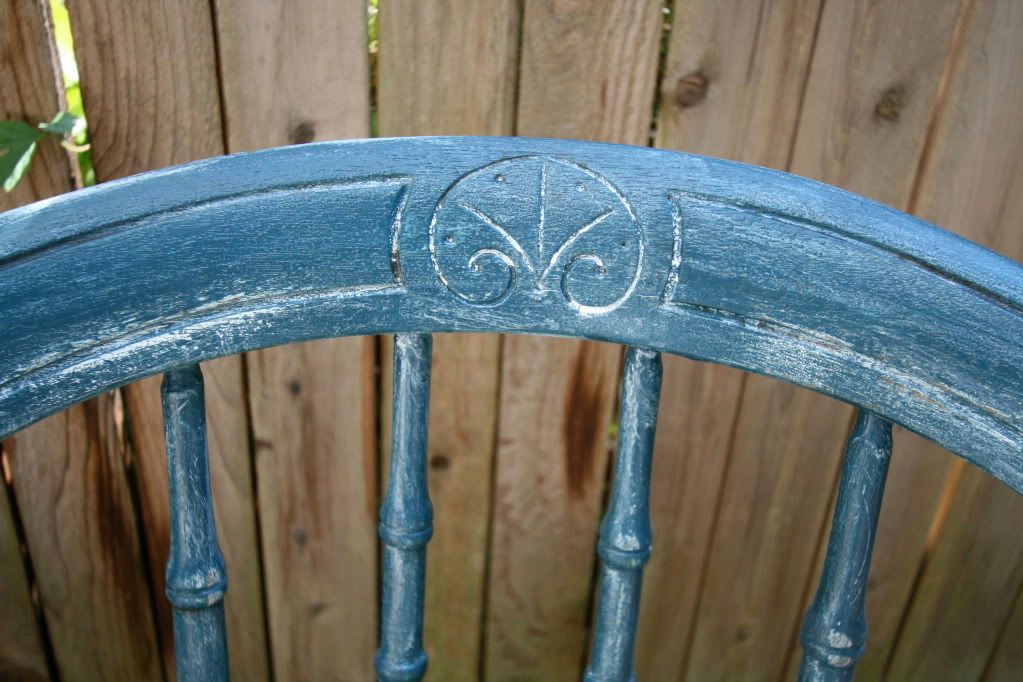
Oh yeah!!! Who's crazy now??? (OK, I still am, but it results in pretty things, so I'm OK with that!)


I love it!!! You are great at making beautiful things. It looks amazing.
ReplyDeleteWOw! Good work!
ReplyDeleteI'm seriously so impressed with how creative you are! The fact you're a great handy-woman inspires me for when I have my own place.
ReplyDeleteAlso, Doctor Who is great!
They are beautiful! I love how they turned out. My neighbors think the same thing of me. Especially last weekend when I was on my roof ripping my shutters off and got stung by a bee. (I danced and screamed)! I'm glad to be in good company!
ReplyDeleteOnce again...amazing!
ReplyDeleteOkay hyper child, you are amazing. They look great and outstanding.
ReplyDeleteReally nice! Love the colors.
ReplyDeleteI had to come look. Very nice and exciting!
ReplyDeleteI just redid four chairs, and one of them needed a new seat, I was happy to see this post, we speak the same language!
ReplyDeleteBeautiful job on the chairs, they look great!! I'm visiting from The Shabby Nest.
ReplyDelete--Leigh
These look great! They totally caught my eye over at CSI!
ReplyDelete